When looked closely, the world of Minecraft is nothing less than a magical kingdom. You can fly with an Elytra, control mobs with a saddle, and even store huge items in a bundle. However, these powers are often limited to the weapons you use - at least, until you get your hands on a potion. Potions in Minecraft offer temporary superpowers that can completely transform how you play the game. But to unlock them, you'll need to learn how to make a Brewing Stand in Minecraft and brew these special liquids. So, whether you want to conquer the best Minecraft Bedwars servers or your survival world, let's dive in and unlock the world of brewing.
How to Make a Brewing Stand in Minecraft (2023)
We are first going over the purpose and spawning of Brewing Stands before moving to their crafting and use. You can explore all sections thoroughly to understand this powerful item in-depth.
What is a Brewing Stand in Minecraft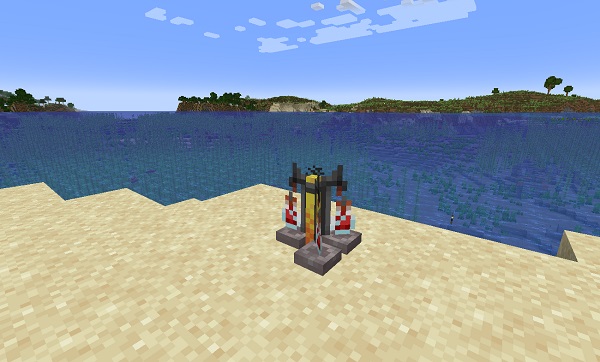
The Brewing Stand is a powerful utility block in Minecraft that you can use to brew potions and unlock special effects. From healing and regeneration to invisibility and strength, each potion provides unique benefits or potential harm to its consumer. Moreover, the stand can even turn the brewed potions into projectile weapons capable of taking down powerful enemies.
But the usefulness of the Brewing Stand doesn't stop there. It also serves as a job-site block for cleric villagers, who offer a variety of valuable trades including Ender pearls and a range of brewing and enchanting ingredients.
Where Does a Brewing Stand Spawn
You can find a Brewing Stand in the following structures of Minecraft:
- End Ships (that spawn near End Cities)
- Igloos (in basements)
- Village (in churches)
If the circumstances are right, you can easily find this utility block within any of the above-mentioned structures. But reaching these spots is a tedious task in itself which requires a lot of time, luck, and effort. So, it's best to learn how to make a Brewing Stand in Minecraft to ensure you have a backup even if exploration doesn't go right.
Items Required to Make a Brewing Stand
You need to collect the following items to craft a Brewing Stand in Minecraft:
- 3 Cobblestone Blocks (or variants)
- 1 Blaze Rod
Stone is one of the most abundant resources in Minecraft, which can be found throughout the overworld. It generates more commonly in caves and around mountains of Minecraft, where they form a major part of the environment.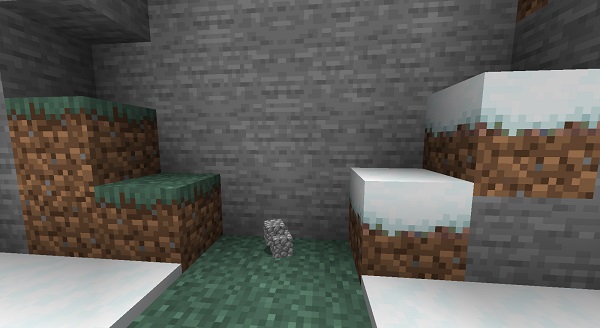
When you break a stone block with a pickaxe (without silk touch), it ends up dropping cobblestone blocks. You can pick them up and use them to create structures, tools, and even a Brewing Stand. Moreover, you can also use variants of this block including Blackstone and cobbled deepslate in the recipe but they are often harder to find.
How to Get Blaze Rods?
Follow these simple steps to obtain Blaze rods in Minecraft:
1. First, create a Nether portal in Minecraft and use it to travel to the Nether dimension.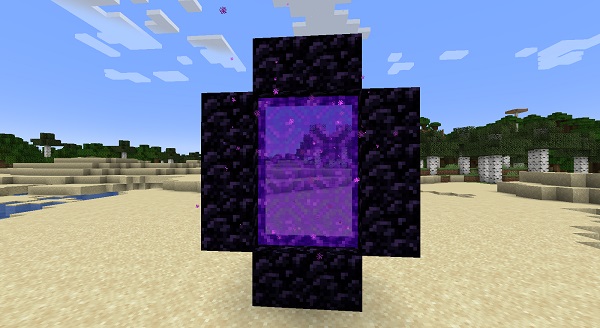
2. Then, search for a Nether fortress, which is a massive fort-like structure that generates at random spots in the Nether.
3. Once you find a fortress, you need to explore it till you come across an area that has Blaze hostile mobs in it. Such a spot usually appears in open areas and has a mob spawner in the middle of it.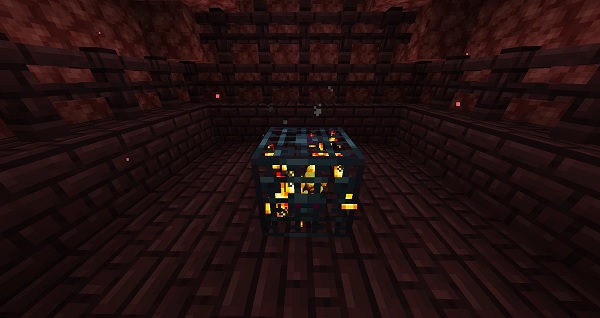
4. Then, simply kill the Blazes to make them drop Blaze rods. You only need one rod to make a Brewing Stand in Minecraft.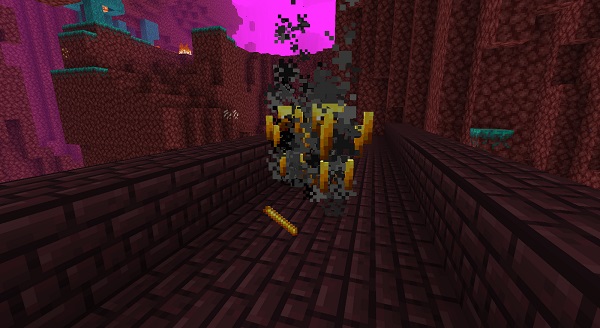
5. As you might already know, the Brewing Stands require fuel to function. So, you also need to put a Blaze rod on the crafting table to turn it into Blaze power for powering your stand.
Crafting Recipe of Brewing Stand in Minecraft
Once you have all the required ingredients, it's time to follow these steps to craft a Brewing Stand in Minecraft:
1. First, right-click or use the secondary action key on a crafting table to open it.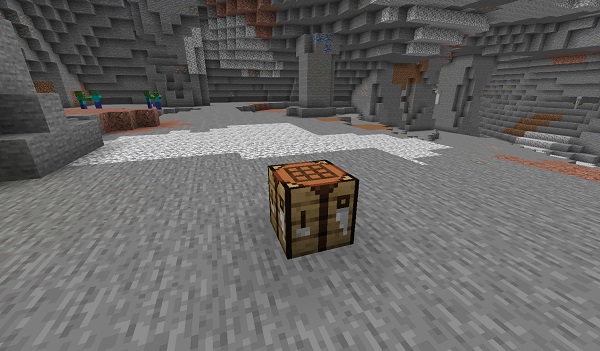
2. Then, place the Blaze rod in the middle slot of the first row of the crafting area.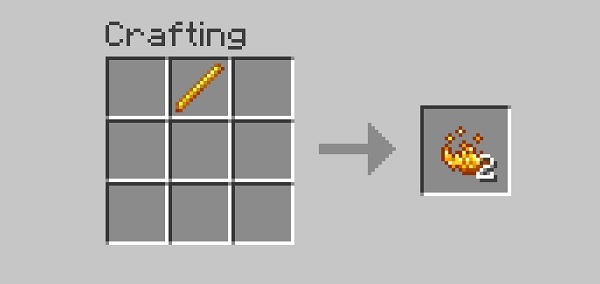
3. Finally, fill up the entire second row of the crafting grid with cobblestone or its variants. You can even use a combination of cobblestone variants for the recipe. Then, pick up the Brewing Stand from the right-side slot and place it in your inventory.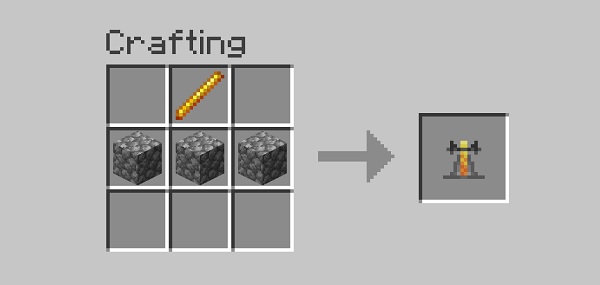
How to Use a Brewing Stand
Now that you know how to make a Brewing Stand in Minecraft, it's time to put it to use. Its UI consists of several sections. At the left of the stand, you'll find the fuel column, where you can insert Blaze powder to power the brewing. Once you add Blaze powder, it will immediately be converted into fuel and show up in the tube-like section beneath the bubbles.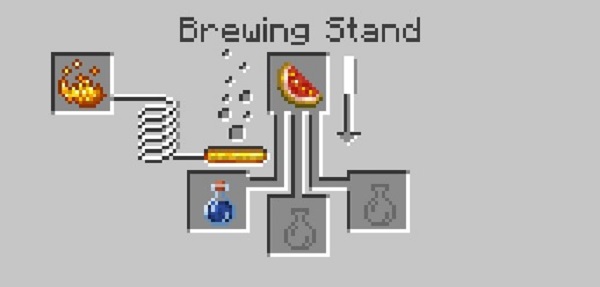
On the top, you have an ingredient slot where all the key item that brews a potion goes. This item changes based on the type of potion you are trying to create. Lastly, at the bottom of a Brewing Stand, you will find three slots where you can place water bottles and brewed potions. When you fill-up all the slots, the bubbles start bursting and the arrow (on the right) starts indicating the progress.
Frequently Asked Questions
What can power a Brewing Stand in Minecraft?
You can only use a Blaze powder to fuel and power a Brewing Stand in Minecraft.
How many potions can you make in a Brewing Stand?
A player can brew up to three potions using a single ingredient in the Brewing Stand of Minecraft.
Can villagers work on a Brewing Stand?
While a villager can't interact directly with a Brewing Stand, this item acts like a job-site block that can turn them into a cleric. Then, you can trade with the villager to get various potion ingredients and more. Though, if the trades a cleric offers seem a bit expensive, you can cure a zombie villager in their village to lower the prices.
Make and Use a Brewing Stand in Minecraft
With that, you know everything there is to know about how to make a Brewing Stand in Minecraft. Now, it's time to create your first potion in the game. There are a lot of options to choose from but we suggest you try your hands at a Potion of Night Vision as it is fairly easy to make. But, do keep a diamond sword or similar weapon handy to kill hostile mobs that might try to disrupt your quest. So put on your robe, grab your materials, and get ready to brew!

